yoga asana by geetanjali gautam
TRANSCRIPT
ASPESS
YOGA ASSIGNMENT
GEETANJALI GAUTAM
B.P.ED-2ND SEMESTER
Enrollment Number:
A3013816038
SUBJECT-YOGA EDUCATION
Submitted to: Dr. Ajit
YOGAINTRODUCTIONTHE TERM “YOGA” COMES FROM THE SANSKRIT WORD ”YUG” WHICH MEANS TO JOIN,TO YOKE TOGETHER , TO UNIFY ,TO UNITE AS ONE. SO YOGA ESSENTIALLY MEANS UNION.
DEFINITION• अथ योगानुशासनम् atha yoga- anuśāsanam Yoga in the here and now: an introduction to the study and practice of yoga (Samadhi Pada -1.1)
• योगश्चि�त्तवृश्चित्तनिनरोधः yogaś-citta-vr̥tti-nirodhaḥ When you are in a state of yoga, all misconceptions (vrittis) that can exist in the mutable aspect of human beings (chitta) disappear.(Samadhi Pada- 1.2)
ASANAINTRODUCTION The term Asana is derived from the Sanskrit root “Aas” means “to sit” or “Asi” means “To be”.
DEFINITION
• स्थि�रसुखमासनम्sthira-sukham-āsanam Practicing yoga with strength and in a relaxed manner gives rise to harmony with the physical body (asana). (Sandhya pada 2.46)
• प्रयत्नशैथिथल्यानन्तसमापश्चित्तभ्याम् prayatna-śaithilya-ananta-samāpatti-bhyām The key to success in this regard is practice with effort, which becomes progressively easier, combined with deep contemplation (samapatti). (Sandhya pada-2.47)
Asanas are divided into two groups.
On the basis of position of body.1. Standing position asana2. Sitting position asana3. Lying position asana
On the basis of formation of our body looks like.1. Cultural asana (Sanskritik asana)2. Meditative asana( Dhyanatmak asana)3. Relaxative asana
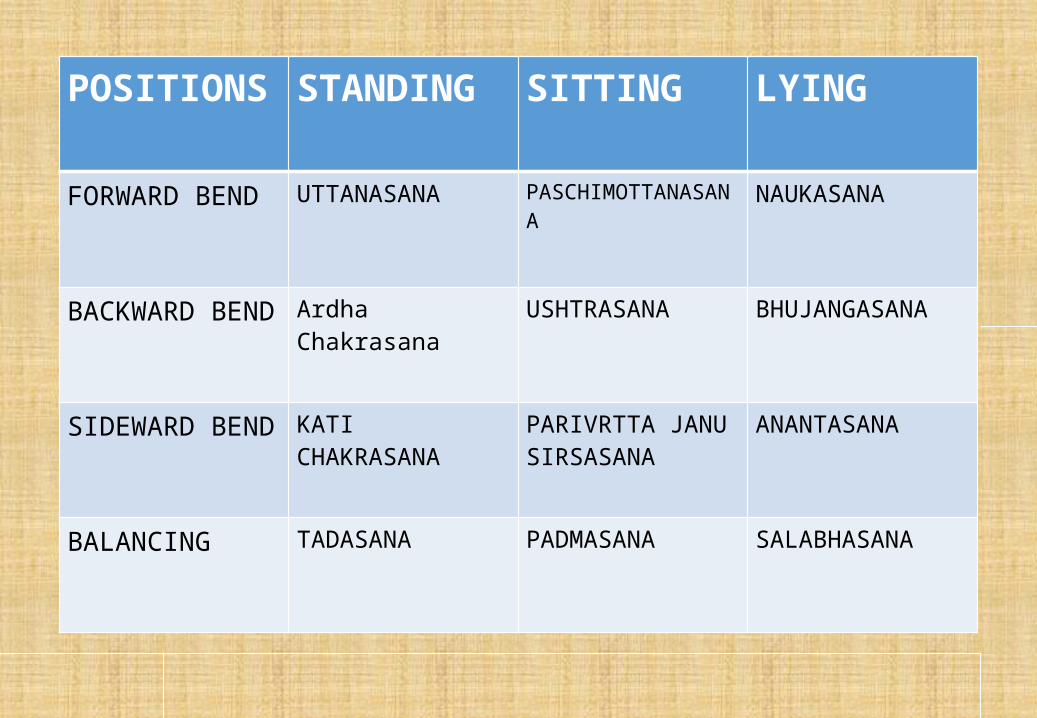
POSITIONS STANDING SITTING LYING
FORWARD BEND UTTANASANA PASCHIMOTTANASANA NAUKASANA
BACKWARD BEND Ardha Chakrasana USHTRASANA BHUJANGASANA
SIDEWARD BEND KATI CHAKRASANA PARIVRTTA JANU SIRSASANA
ANANTASANA
BALANCING TADASANA PADMASANA SALABHASANA
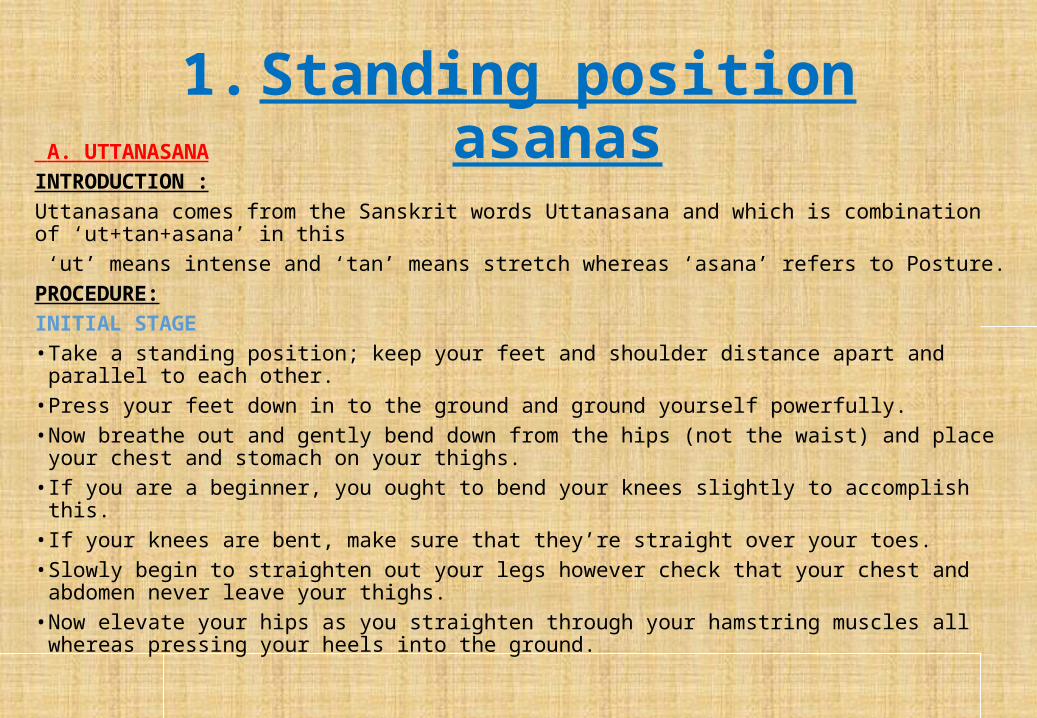
1. Standing position asanas A. UTTANASANA
INTRODUCTION :Uttanasana comes from the Sanskrit words Uttanasana and which is combination of ‘ut+tan+asana’ in this ‘ut’ means intense and ‘tan’ means stretch whereas ‘asana’ refers to Posture. PROCEDURE:INITIAL STAGE• Take a standing position; keep your feet and shoulder distance apart and parallel to each other.• Press your feet down in to the ground and ground yourself powerfully.• Now breathe out and gently bend down from the hips (not the waist) and place your chest and
stomach on your thighs.• If you are a beginner, you ought to bend your knees slightly to accomplish this.• If your knees are bent, make sure that they’re straight over your toes.• Slowly begin to straighten out your legs however check that your chest and abdomen never leave
your thighs.• Now elevate your hips as you straighten through your hamstring muscles all whereas pressing
your heels into the ground.
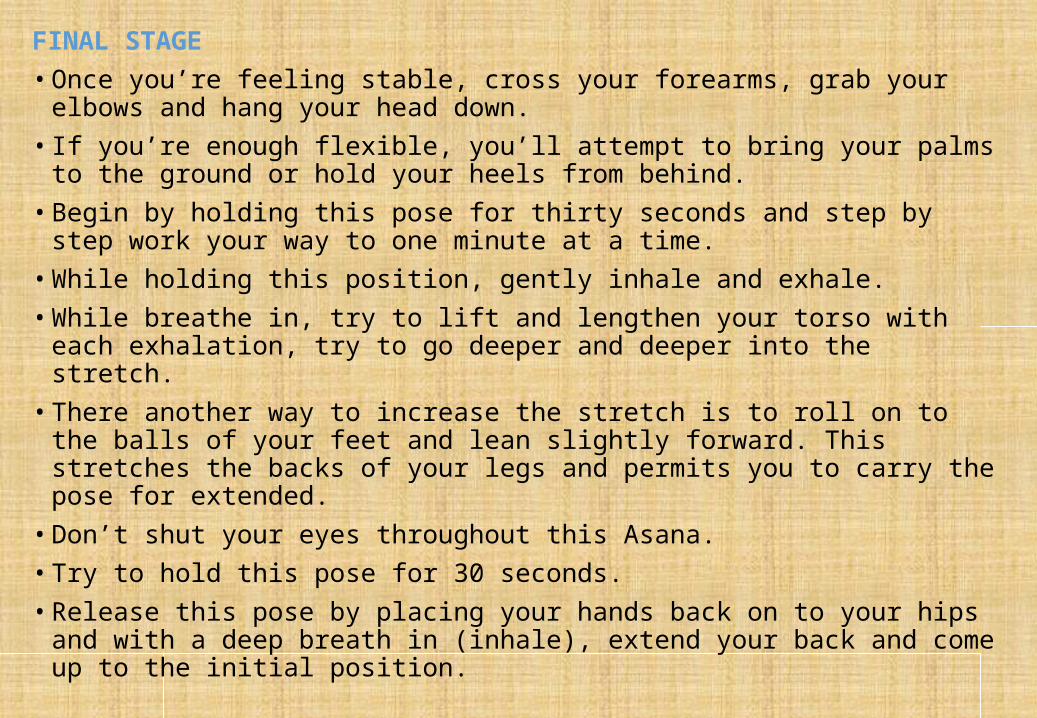
FINAL STAGE• Once you’re feeling stable, cross your forearms, grab your elbows and hang
your head down.• If you’re enough flexible, you’ll attempt to bring your palms to the ground or
hold your heels from behind.• Begin by holding this pose for thirty seconds and step by step work your way
to one minute at a time.• While holding this position, gently inhale and exhale.• While breathe in, try to lift and lengthen your torso with each exhalation, try
to go deeper and deeper into the stretch.• There another way to increase the stretch is to roll on to the balls of your feet
and lean slightly forward. This stretches the backs of your legs and permits you to carry the pose for extended.
• Don’t shut your eyes throughout this Asana.• Try to hold this pose for 30 seconds.• Release this pose by placing your hands back on to your hips and with a deep
breath in (inhale), extend your back and come up to the initial position.
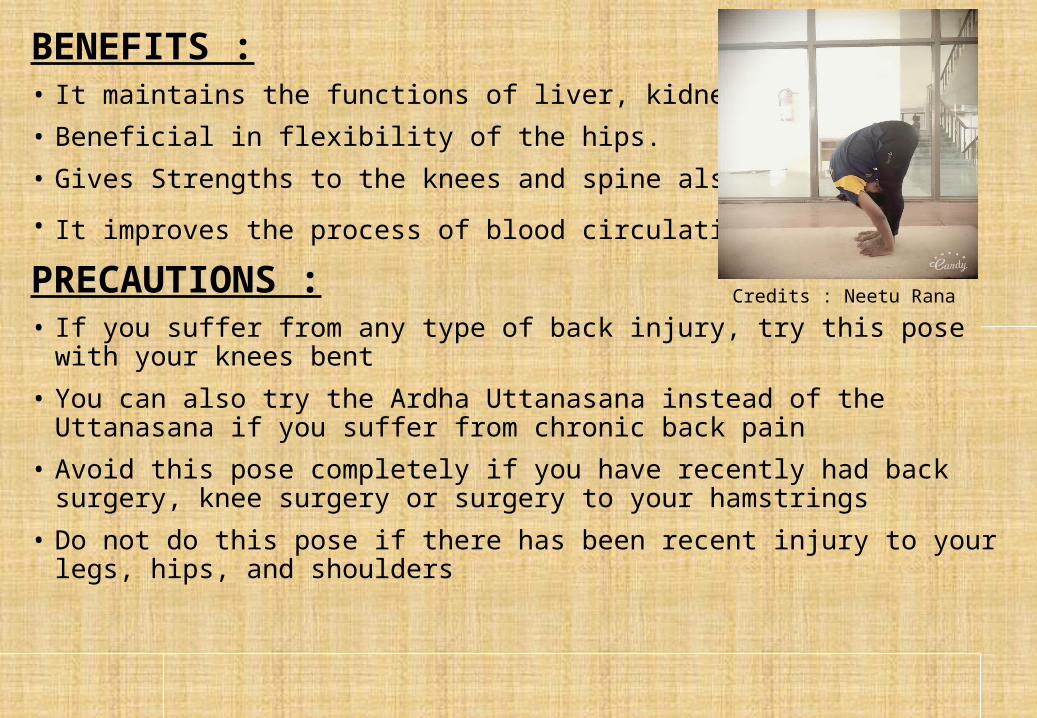
BENEFITS :• It maintains the functions of liver, kidneys and spleen.• Beneficial in flexibility of the hips.• Gives Strengths to the knees and spine also.
• It improves the process of blood circulation.PRECAUTIONS :• If you suffer from any type of back injury, try this pose with your knees bent• You can also try the Ardha Uttanasana instead of the Uttanasana if you suffer from
chronic back pain• Avoid this pose completely if you have recently had back surgery, knee surgery or
surgery to your hamstrings• Do not do this pose if there has been recent injury to your legs, hips, and shoulders
Credits : Neetu Rana
B. ARDH CHAKRASANAINTRODUCTION :Ardha chakrasana is an intermediate asana that can help to prepare the body and mind for deeper backbends and heart-opening postures like chakrasana (wheel pose). The name is derived from the Sanskrit ardha, meaning “half“, chakra, meaning “wheel," and asana, meaning “pose.”PROCEDURE :INITIAL STAGE• Stand straight with feet together and arms alongside the body.• Balance your weight equally on both feet• Breathing in, extend your arms overhead, palms facing each other.FINAL STAGE• Breathing out, gently bend backwards pushing the pelvis forward, keeping the arms
in line with the ears, elbows and knees straight, head up, and lifting your chest towards the ceiling.
• Hold. Breathing in, come back up.• Breathing out, bring the arms down and relax.
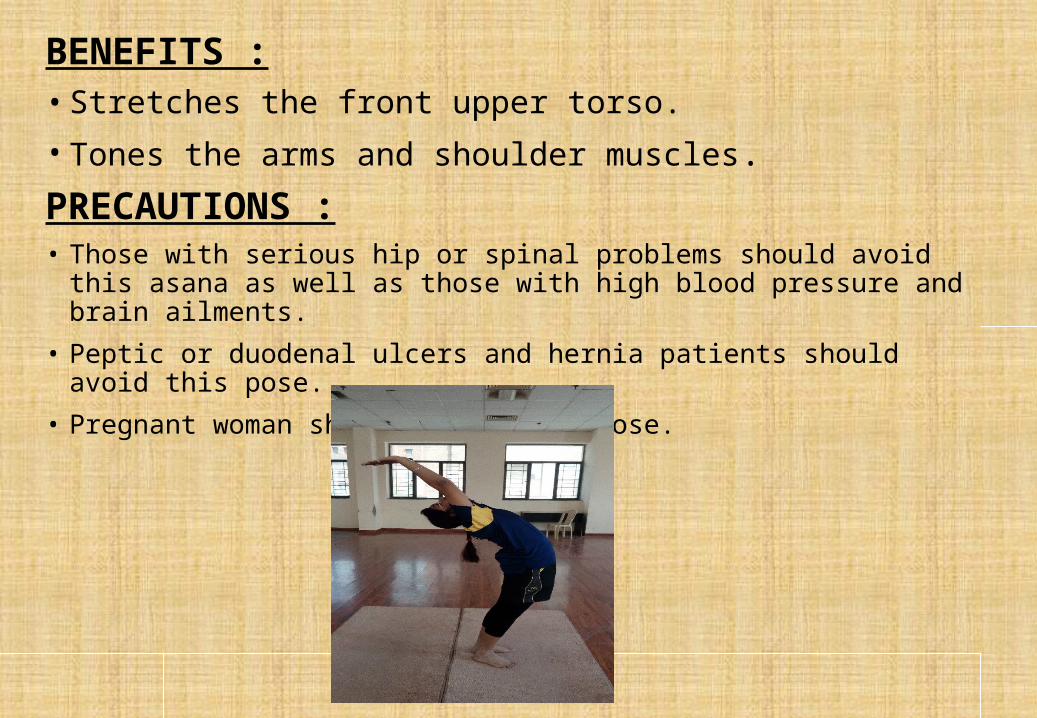
BENEFITS :• Stretches the front upper torso.• Tones the arms and shoulder muscles.PRECAUTIONS :• Those with serious hip or spinal problems should avoid this asana as well as those
with high blood pressure and brain ailments.• Peptic or duodenal ulcers and hernia patients should avoid this pose.• Pregnant woman should avoid this pose.
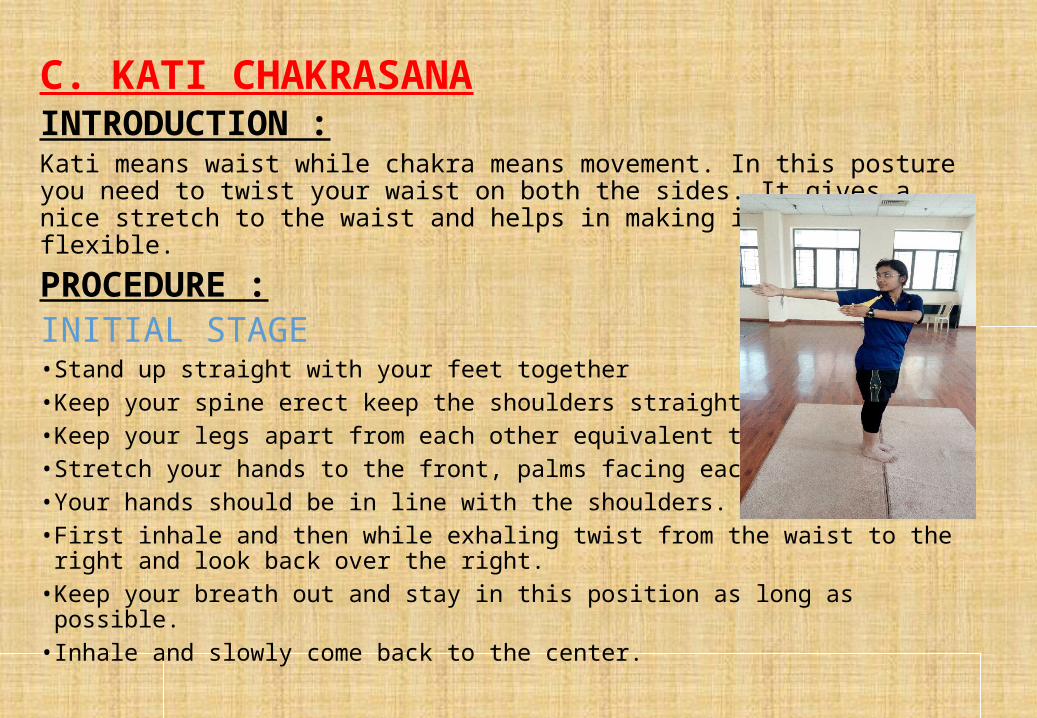
C. KATI CHAKRASANAINTRODUCTION :Kati means waist while chakra means movement. In this posture you need to twist your waist on both the sides. It gives a nice stretch to the waist and helps in making it more flexible.
PROCEDURE :INITIAL STAGE• Stand up straight with your feet together• Keep your spine erect keep the shoulders straight.• Keep your legs apart from each other equivalent to the shoulders• Stretch your hands to the front, palms facing each other.• Your hands should be in line with the shoulders.• First inhale and then while exhaling twist from the waist to the right and look back over
the right.• Keep your breath out and stay in this position as long as possible.• Inhale and slowly come back to the center.
FINAL STAGE• Exhale and twist from the waist to the left and look back over the left.• Keep your breath out.• Stay in this final posture as long as possible.• Come back to the center and relax. • In the twisted position if you want to stay for longer then you need
slowly keep on breathing.• This is the complete cycle of this posture.• Practice can be repeated 10 to 20 times or even more than that as
per the convenience.• • Note: This posture must be practiced from both the sides. One should
not practice with only one side. The number of twists must be equal from both the sides.
BENEFITS :• Helps to remove lethargy.• Improves the flexibility of the spine and waist.• Strengthens the spine and waist• Good for relieving constipation.• Opens up the neck and shoulders.• Provides a stretch in different muscles of arm, abdomen and legs.• Helps to relive back pain. PRECAUTIONS :• Avoid practicing if you have recently undergone any abdomen or
spinal surgery.• If you are suffering from hernia, slip disc or any abdominal
inflammation.• Avoid the practice during pregnancy.• Beginners should practice carefully.
D. TADASANA (PALM TREE POSE)INTRODUCTION :Tada means palm tree. In this asana the final position of a person is looks like a palm tree.PROCEDURE :INITIAL STAGE• Stand straight on the ground, and take a small gap between your feet.FINAL STAGE• With deeply breathe (inhale), raise your both arms.• Keep your arms upward by interlocking your fingers.• Now come on the toes by raising your heels simultaneously• Feel the pressure of stretching from toes to fingers.• Try to maintain this pose as long as you can with slow and deep breathing.• Now come to the original position with deep breathing (exhale).• You can perform the number of rounds as per your convenience after having
relaxation for a while.
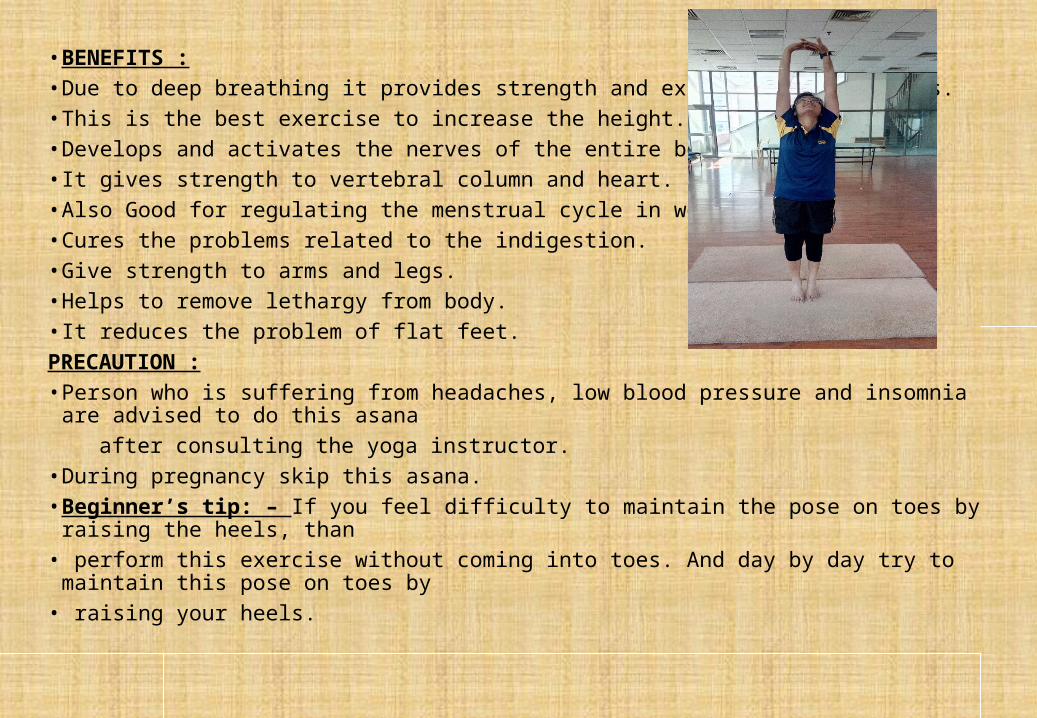
• BENEFITS :• Due to deep breathing it provides strength and expansion to the lungs.• This is the best exercise to increase the height.• Develops and activates the nerves of the entire body.• It gives strength to vertebral column and heart.• Also Good for regulating the menstrual cycle in women.• Cures the problems related to the indigestion.• Give strength to arms and legs.• Helps to remove lethargy from body.• It reduces the problem of flat feet.PRECAUTION :• Person who is suffering from headaches, low blood pressure and insomnia are advised to do this
asana after consulting the yoga instructor.• During pregnancy skip this asana.• Beginner’s tip: – If you feel difficulty to maintain the pose on toes by raising the heels, than• perform this exercise without coming into toes. And day by day try to maintain this pose on toes by• raising your heels.
2. Sitting position asanasA. PASCHIMOTTANASANAINTRODUCTION :The word Paschim literally means west, Uttana means stretched out and asana is pose. Here the word paschim (west) doesn’t mean the west side rather it indicated the back of the body. The back of body is referred as paschim here. Hence a posture in which back of the body or spine is stretched out is called paschimottanasana (forward bend pose).PROCEDURE :INITIAL STAGE • Sit up with the legs stretched out straight in front of you on the floor.• Keep the spine erect and toes flexed towards you.• Bring your respiration to normal.• Breathing in, slowly raise your both the arms straight above your head and stretch up.• Slowly breathe out and bend forward from the hip joint, chin moving toward the toes keeping the spine erect.FINAL STAGE • Place your hands on your legs, wherever they reach, without putting much effort.• If possible hold of your toes and pull on them to help you go forward.• Stay in this position as long as possible.• After the exertion limit reached inhale and raise up stretching up your arms straight above your head.• Breathe out and bring your arms down placing the palms on the ground.• Relax for a while and try to feel the changes occurred in the body.
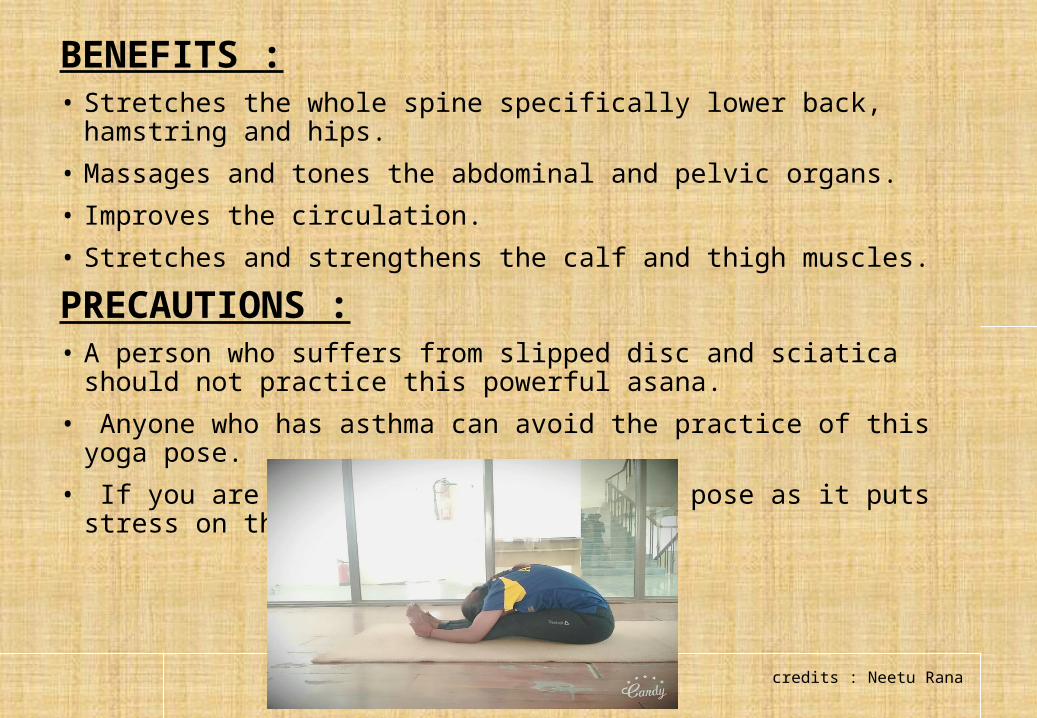
BENEFITS :• Stretches the whole spine specifically lower back, hamstring and hips.• Massages and tones the abdominal and pelvic organs.• Improves the circulation.• Stretches and strengthens the calf and thigh muscles.
PRECAUTIONS :• A person who suffers from slipped disc and sciatica should not practice this powerful
asana.• Anyone who has asthma can avoid the practice of this yoga pose.• If you are pregnant, avoid this yoga pose as it puts stress on the womb.
credits : Neetu Rana
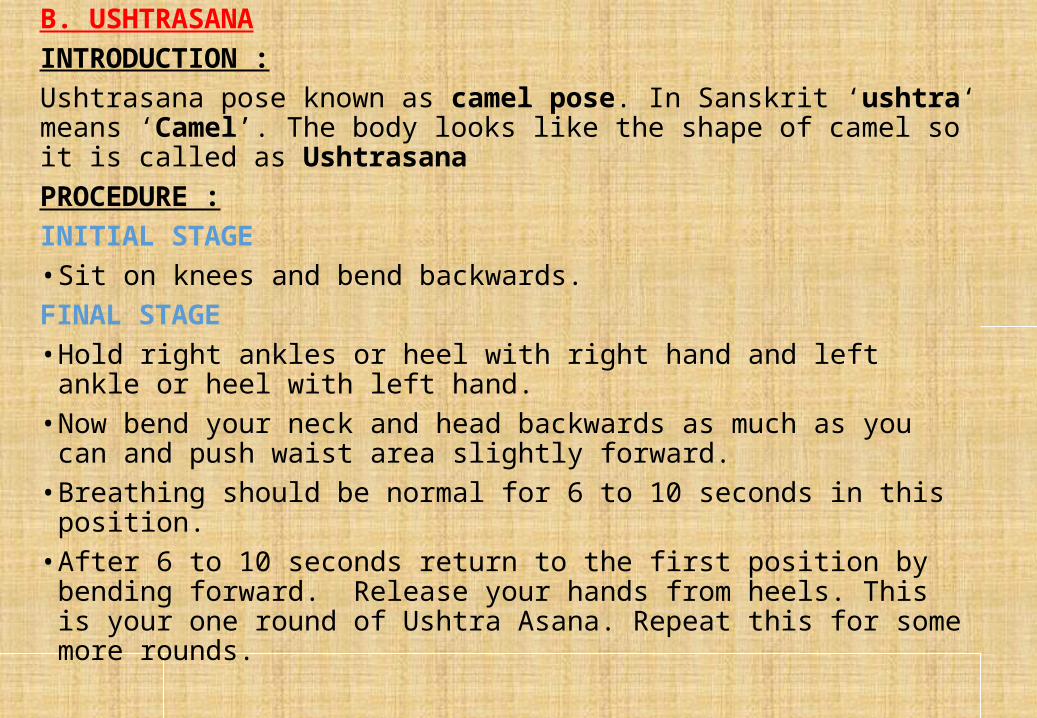
B. USHTRASANAINTRODUCTION :Ushtrasana pose known as camel pose. In Sanskrit ‘ushtra‘ means ‘Camel’. The body looks like the shape of camel so it is called as UshtrasanaPROCEDURE :INITIAL STAGE• Sit on knees and bend backwards.FINAL STAGE• Hold right ankles or heel with right hand and left ankle or heel with left
hand.• Now bend your neck and head backwards as much as you can and push
waist area slightly forward.• Breathing should be normal for 6 to 10 seconds in this position.• After 6 to 10 seconds return to the first position by bending forward.
Release your hands from heels. This is your one round of Ushtra Asana. Repeat this for some more rounds.
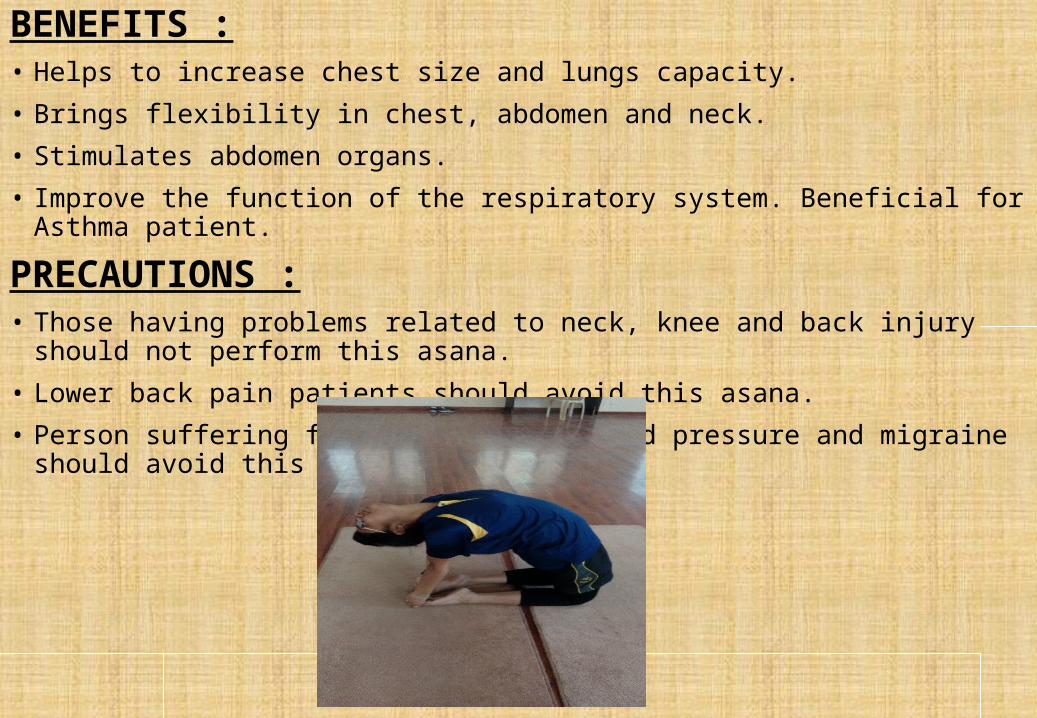
BENEFITS :• Helps to increase chest size and lungs capacity.• Brings flexibility in chest, abdomen and neck.• Stimulates abdomen organs.• Improve the function of the respiratory system. Beneficial for Asthma patient.
PRECAUTIONS :• Those having problems related to neck, knee and back injury should not perform this asana.• Lower back pain patients should avoid this asana.• Person suffering from high or low blood pressure and migraine should avoid this asana.

C. PARIVRTTA JANU SIRSASANAINTRODUCTION :The Revolved Head-to-Knee Pose or the Parivrtta Janu Sirsasana is an intense pose for intermediate yoga practitioners. It is a stretch designed to improve flexibility and limberness. PROCEDURE :INITIAL STAGE• To start off sit on the floor with your legs stretched in front.• Once you are relaxed bend one of your legs and slowly tuck it in your groin. • Slowly the right knee also has to be bent slightly and placed around the right hip. FINAL STAGE• Take a deep breath and then slightly bend sideways on your right side. • Try to bend towards the foot. • Reach for the toes of your right leg and hold it with both your hands.• As you hold the toe, slowly try to straighten the knee. • Slowly move your torso up so that it faces the ceiling. • The left hand should be moved above the head. • Take a deep breath and stretch further. • Stay in the position for a few seconds. • Follow the same procedure with another leg.
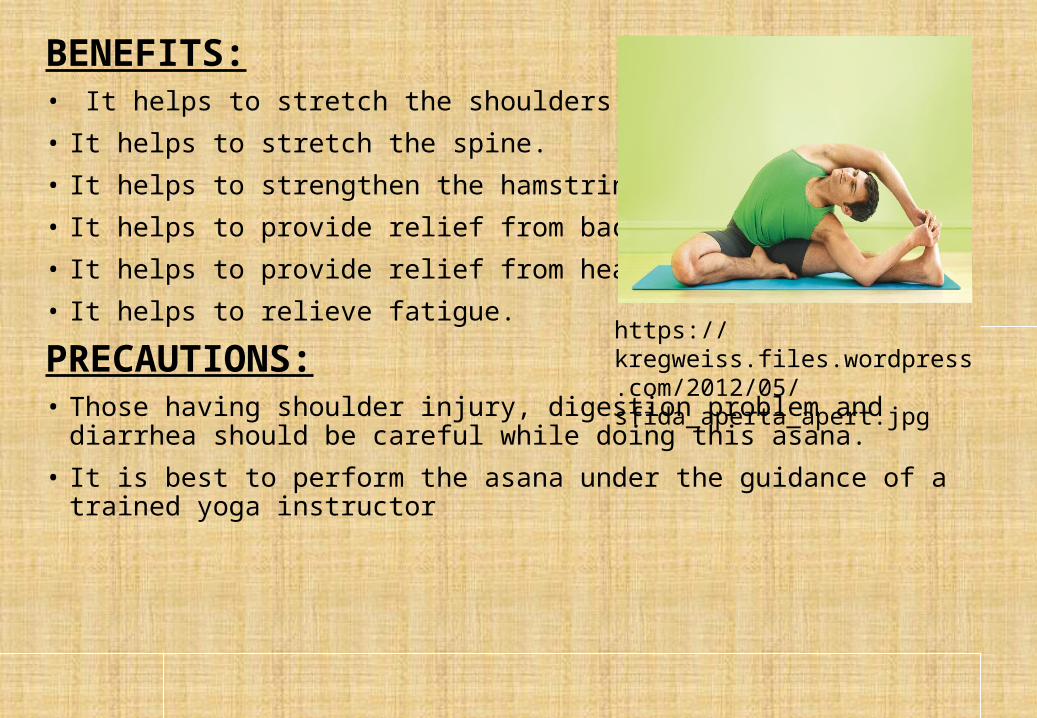
BENEFITS:• It helps to stretch the shoulders. • It helps to stretch the spine. • It helps to strengthen the hamstrings. • It helps to provide relief from backache. • It helps to provide relief from headaches. • It helps to relieve fatigue.
PRECAUTIONS:• Those having shoulder injury, digestion problem and diarrhea should be careful while
doing this asana. • It is best to perform the asana under the guidance of a trained yoga instructor
https://kregweiss.files.wordpress.com/2012/05/sfida_aperta_apert.jpg
D.PADMASANA OR KAMALASANAINTRODUCTION :Padma means lotus. It is also known as kamalasana. In this pose one initates the figure of a blooming lotus.
PROCEDUREINITIAL STAGE• Sit on the floor and stretch the legs.FINAL STAGE• Now hold the right leg in both the hands, fold the legs slowly and place it on the
left thigh.• Make sure that the feet touch the navel.• Likewise fold the left hand, hold it with both the hands and place it on the right
thigh close to the other.• At this point both the knees should touch the floor and the foot should face
upwardly. The spinal cord should be straight at this point.• If you feel difficulty in sitting in the posture for a long time you can change the
legs and then sit on the same position.
BENEFITS :• Padmasana is the highly preferred asanas by yoga practitioner
for increase the focus of mind and concentration.• It helps Calms the brain.• Helps to relax the body• It stretches the ankles and knees• Helps to stimulate the abdomen, spine and bladder• This asana is the base for all asanas and it strengthens the hip
and knee joints of the female and can get painless peaceful mind.• The unwanted fat will be reduced in hip and the thigh.• It stretches the spine.• This is the easiest asana which can be done by all the age group
of men and women they can get benefits of all asana.
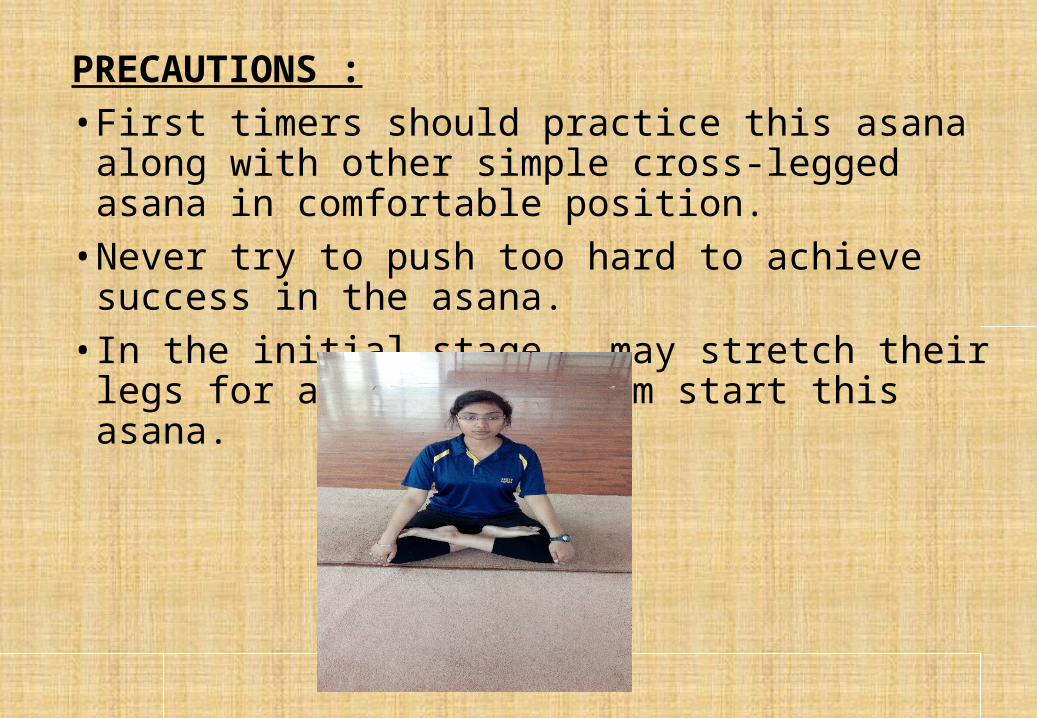
PRECAUTIONS :• First timers should practice this asana along with other
simple cross-legged asana in comfortable position.• Never try to push too hard to achieve success in the asana.• In the initial stage , may stretch their legs for a while and
them start this asana.
3.Lying position asanasA. NAUKASANA (BOAT POSE)INTRODUCTION :In Sanskrit ‘Nauka’ means ‘Boat’ and ‘Asana’ means ‘Pose’. So this asana is called as Naukasana. While practicing boat pose you will see the entire body takes a shape of a boat. This boat pose is beneficial to cure many physical disorders. PROCEDURE :INITIAL STAGE• Lie flat on your back on the yoga mat with your arms by your side.• Relax in this position for some time and keep breathing normally.• Now inhale slowly and lift your both legs .• Keep legs straight and should not be bent.FINAL STAGE• Raise your upper body to touch your legs with both hands.• Try to maintain the angle of 45 degrees.• Hold your breath and the posture for 10-15 seconds. You can increase the time of holding
posture by practicing regularly.• Now exhale slowly and get back to your starting position.
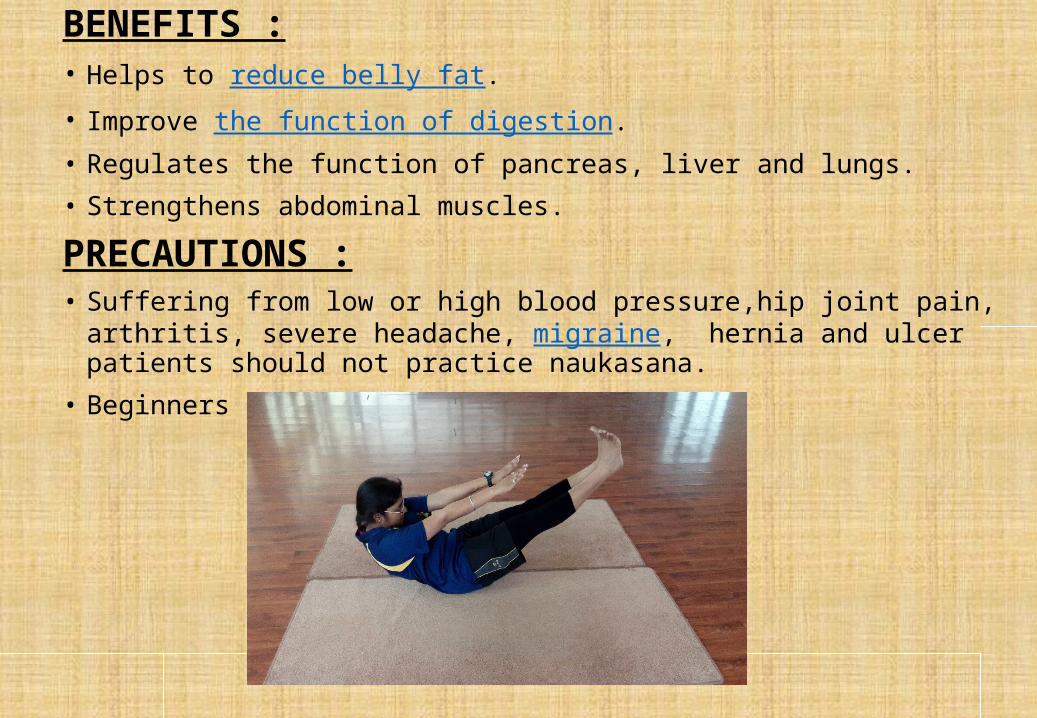
BENEFITS :• Helps to reduce belly fat.• Improve the function of digestion.• Regulates the function of pancreas, liver and lungs.• Strengthens abdominal muscles.
PRECAUTIONS :• Suffering from low or high blood pressure,hip joint pain, arthritis, severe headache,
migraine, hernia and ulcer patients should not practice naukasana.• Beginners should do carefully.
B.BHUJANGASANA (COBRA POSE)INTRODUCTION :The meaning of Bhujang is cobra and asana means yoga pose. Bhujangasana is the stretching yoga exercise of the front torso and the spine. Bhujangasana is the final stage when the cobra is ready to attack its prey by raising its hood; hence the name is cobra pose. Cobra pose is one of the most important back bending yoga asana, which has numerous health benefits ranges from head to feet.PROCEDURE :INITIAL STAGE• Lie down on the stomach by keeping your legs together. Make a gap of 1-2 feet
between the legs if somebody has backache.• Put your palms besides your shoulder and the head should rest on the ground.FINAL STAGE• With inhaling raise your head up to your navel region and try to see the roof.• Maintain the position till 10 to 60 seconds with steadily inhaling and exhaling.• Come to the original position slowly with deep exhalation.• Repeat the process for 3 to 5 times.
BENEFITS • Stretches muscles in the shoulders, chest and abdominals.• Decreases stiffness of the lower back.• Strengthens the arms and shoulders.• Increases flexibility.• Improves menstrual irregularities.• Elevates mood.• Firms and tones the buttocks.• Stimulates organs in the abdomen, like the kidneys.• Relieves stress and fatigue.• Opens the chest and helps to clear the passages of the heart and lungs.• Improves circulation of blood and oxygen, especially throughout the spinal
and pelvic regions.• Improves digestion.• Strengthens the spine.• Helps to ease symptoms of asthma.
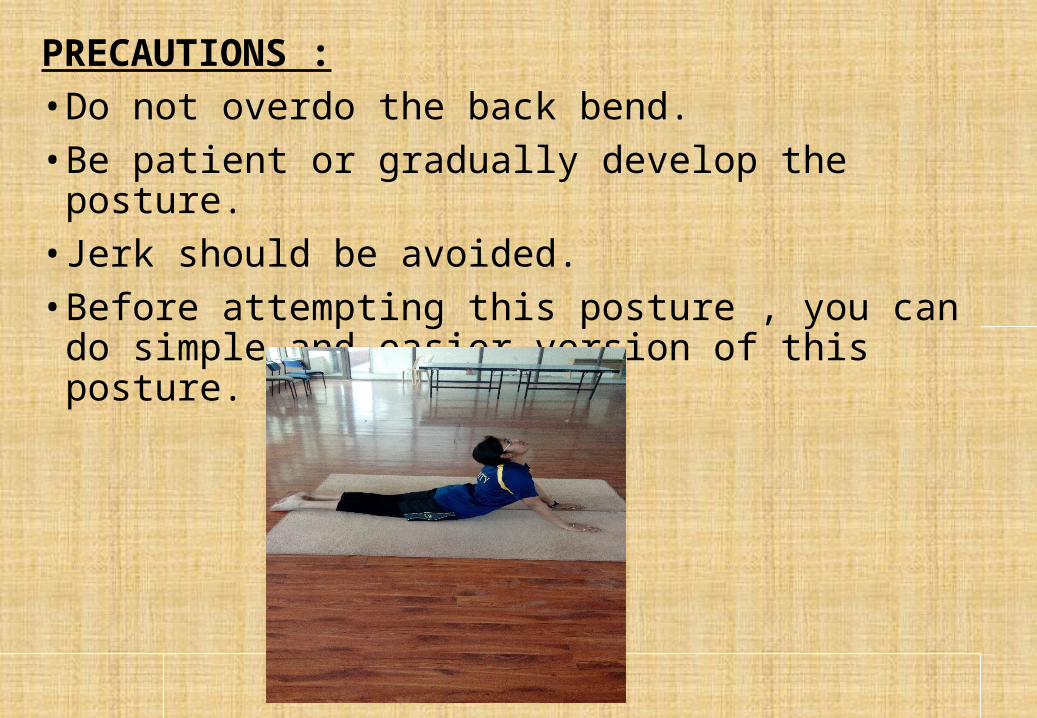
PRECAUTIONS :• Do not overdo the back bend.• Be patient or gradually develop the posture.• Jerk should be avoided.• Before attempting this posture , you can do simple and easier
version of this posture.
C. ANANTASANAINTRODUCTION :The word ‘Ananta’ means “never-ending” or infinite. It is also called sleeping or reclining Vishnu pose .PROCEDURE :INITIAL STAGE• Lie down straight on the back.• Turn towards your left.• Lift your right leg up at a 90 degree angle . Now , place your left hand
below your head to support it.FINAL STAGE• Now , raise your right and try to grab the toes of your right leg with
your right hand.• Hold on in the position for about 20 seconds.• Lie in shavasana and relax.

BENEFITS :• This asana helps to tone abdominal muscles.• This asana strength shoulder muscles.• This asana helps in relieving mental anxiety and stress.
PRECAUTIONS :• Although this asana has a myriad of health benefits, the side–reclining leg lift
precautions are especially crucial for people suffering from conditions such as sciatica, slipped disc, and cervical spondylitis.
• People with these problems should either refrain completely from practicing the anantasana or practice it under professional supervision.
D. SALABHASANAINTRODUCTION :In the word salabhasana, salabham means grasshopper. While doing this asana the body becomes like a grass hopper (Locust Pose) and since it gets the name.PROCEDURE :INITIAL STAGE• Lay down on the mat upside down.• Make sure the stomach and the face touches the ground and keeps both the legs
together.• Stretch the hands backside the body and it should touch the body.• The fingers should be folded. Don’t bend the hands and keep them down the thighs.• Then make sure the face alone touches the floor.FINAL STAGE• Inhale the breathe deeply and slowly and lift both the legs slowly as much as
possible.• Be in the same position for about 20 seconds and then exhale the breath slowly and
come back to the normal stage. Repeat this exercise for 3-4 times.
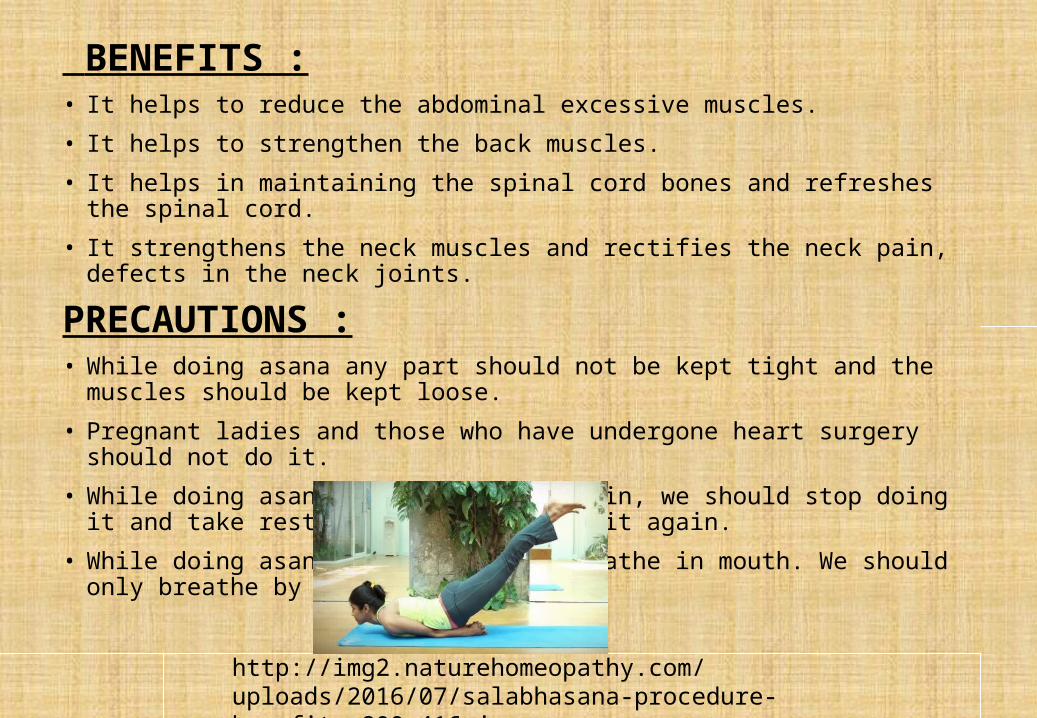
BENEFITS :• It helps to reduce the abdominal excessive muscles.
• It helps to strengthen the back muscles.
• It helps in maintaining the spinal cord bones and refreshes the spinal cord.
• It strengthens the neck muscles and rectifies the neck pain, defects in the neck joints.
PRECAUTIONS :• While doing asana any part should not be kept tight and the muscles should be kept loose.
• Pregnant ladies and those who have undergone heart surgery should not do it.
• While doing asana if there is any pain, we should stop doing it and take rest and then we can do it again.
• While doing asana, we should not breathe in mouth. We should only breathe by nose.
http://img2.naturehomeopathy.com/uploads/2016/07/salabhasana-procedure-benefits-800x416.jpg

REFERENCES• http://www.gyanunlimited.com/health/cobra-yoga-pose-bhujang
asana-meaning-steps-and-health-benefits/9119/• http://www.sarvyoga.com/tadasana-palm-tree-pose-steps-and-b
enefits/• http://www.sarvyoga.com• http://eyogaguru.com/naukasana-boat-yoga-pose-benefits-steps/• http://
www.artofliving.org/in-en/yoga/yoga-poses/standing-backward-bend• http://eyogaguru.com/camel-pose-ushtrasana-yoga-pose-benefit
s-and-steps/• http://
www.naturehomeopathy.com/salabhasana-step-by-step-procedure-and-benefits-locust-pose.html
